Arcade Setup Guides
GRS YouTube Assembly Videos
-

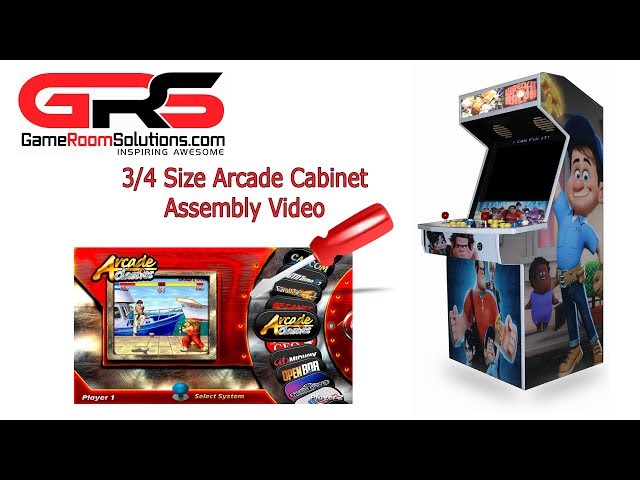
MidSize 27 Pandora's Box Arcade Cabinet Kit - Assembly
-

Mid Size Nin Vertical Arcade Assembly Video - Punch Out!
-
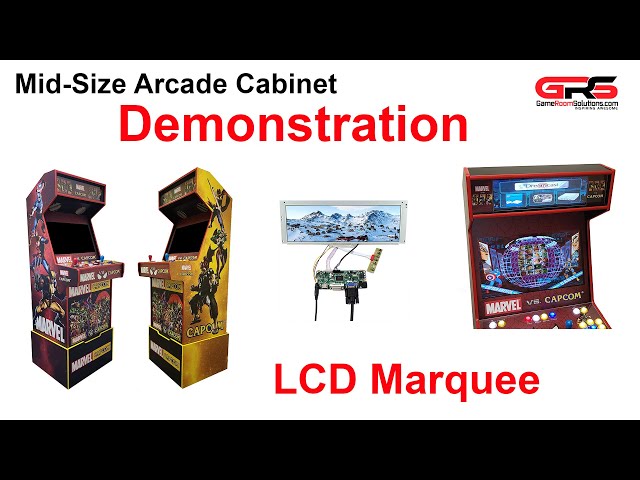
GRS Mid Size Arcade Cabinet with LCD Marquee
-

Table Top Viewlix Vertical Arcade Cabinet
-

Table Top Cocktail Arcade Cabinet Assembly
-

Mid Size Virtual Pinball Cabinet Assembly
-

Table Top Virtual Pinball Cabinet Assembly Video
-

Full Size Virtual Pinball Assembly Video - 43" Play Field
-

GRS Wall Mounted Dartboard and Jukebox
-

GRS Rev 3 Assembly Video Bartop Arcade Deluxe
-
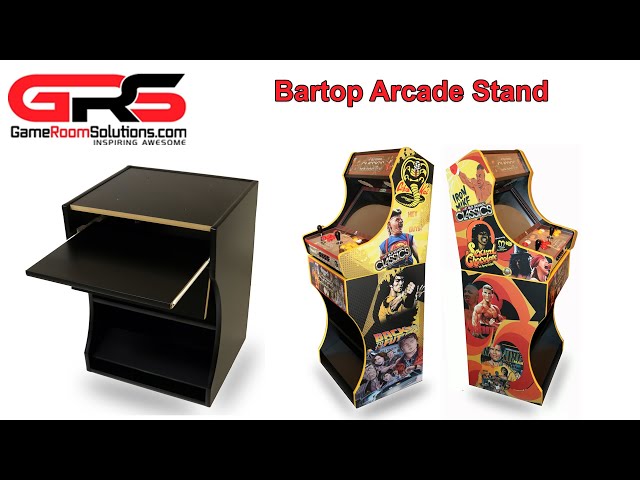
Bartop Arcade Stand
-
Mini Arcade Cabinet Kit for 22 Monitor GameRoomSolutions com
GRS YouTube How-To Videos
-

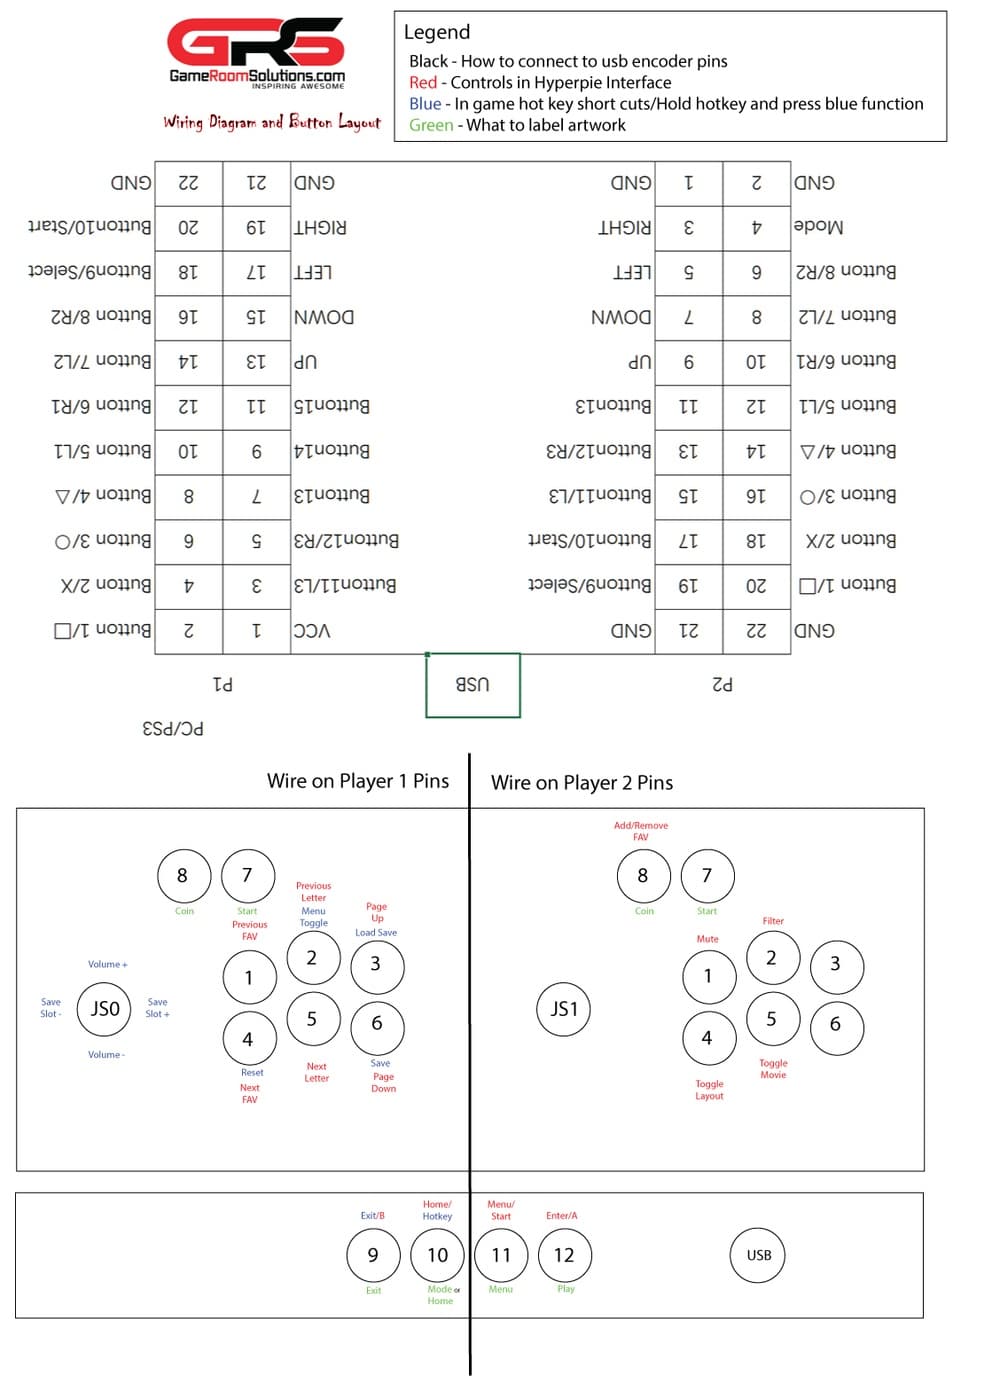
Arcade Button Layouts and Wiring 101
-

Awesome Happ or Sanwa Style Joystick Mounting Solution
-

How to Photoshop Arcade Graphics for your Cabinet
-

Wire and Light up an Arcade Control Panel Buttons and Joysticks
-

How to Light an Arcade Marquee with LED Light Strips
-

How to Apply TMolding to Your Arcade Machine
-

How to Wire a Power Switch to Your Arcade
-

How to Wire Audio for Your Arcade
-

Adding USB Ports to Your Arcade
-

Best Way to Power Your Raspberry Pi Arcade On and Off
-
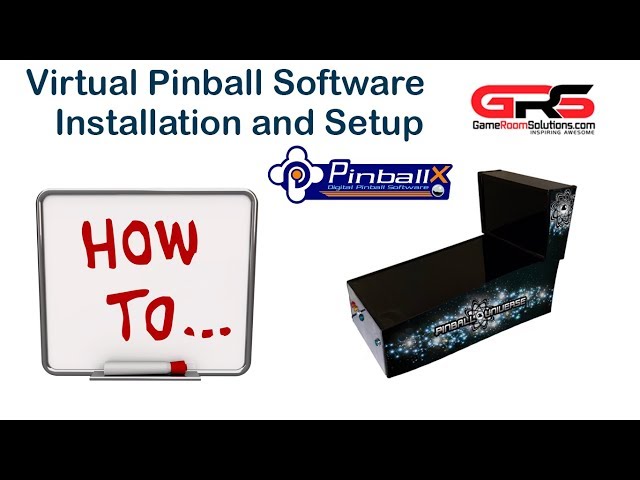
Virtual Pinball and PinballX Cabinet Complete Setup
-

Loading Arcade Images and Configuring Controls on Raspberry PI
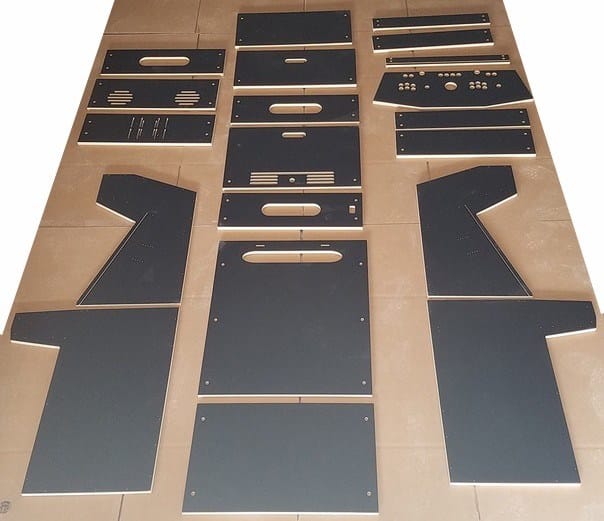
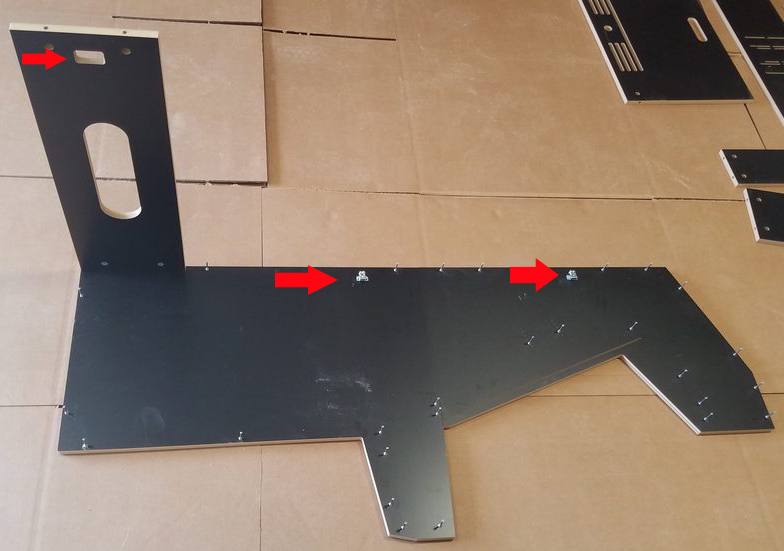
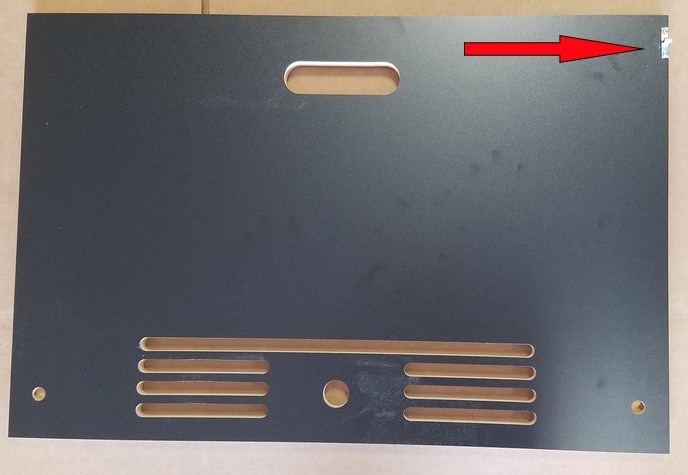
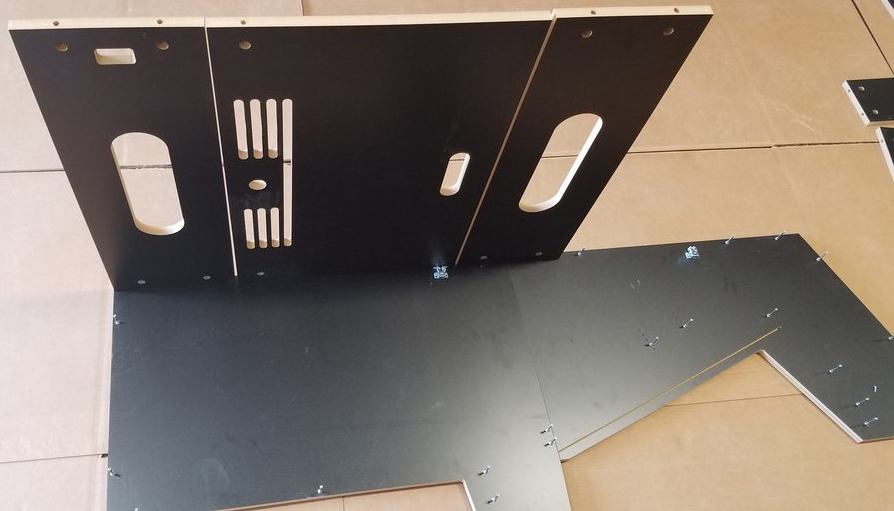
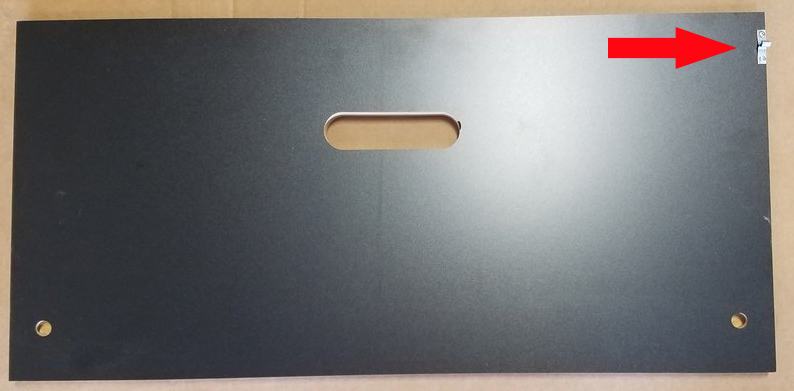
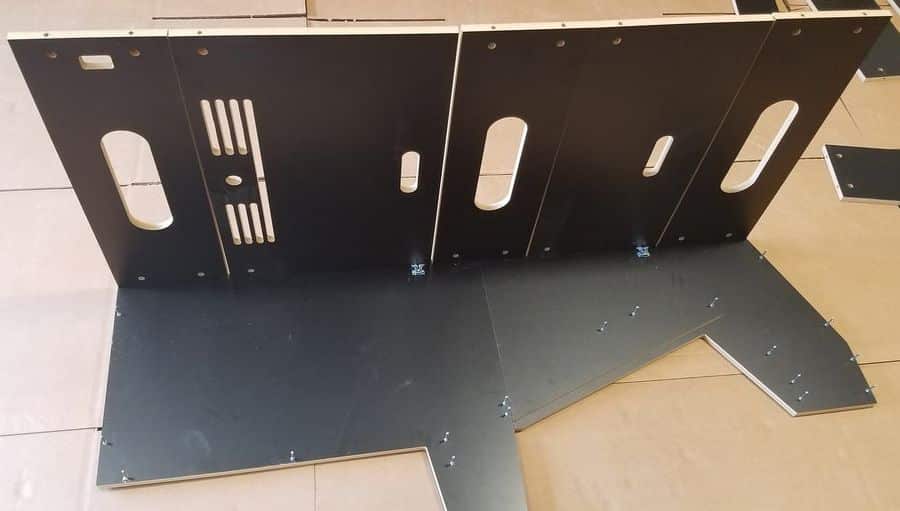
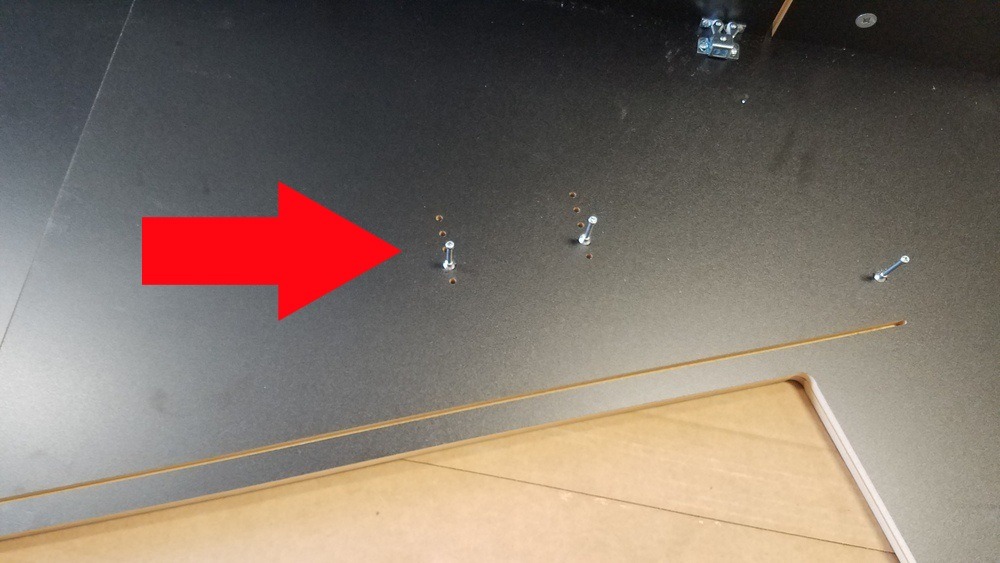
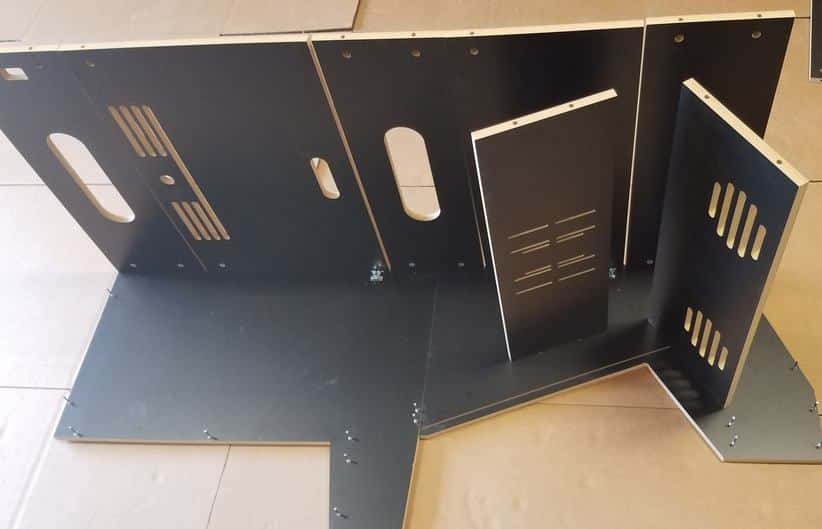
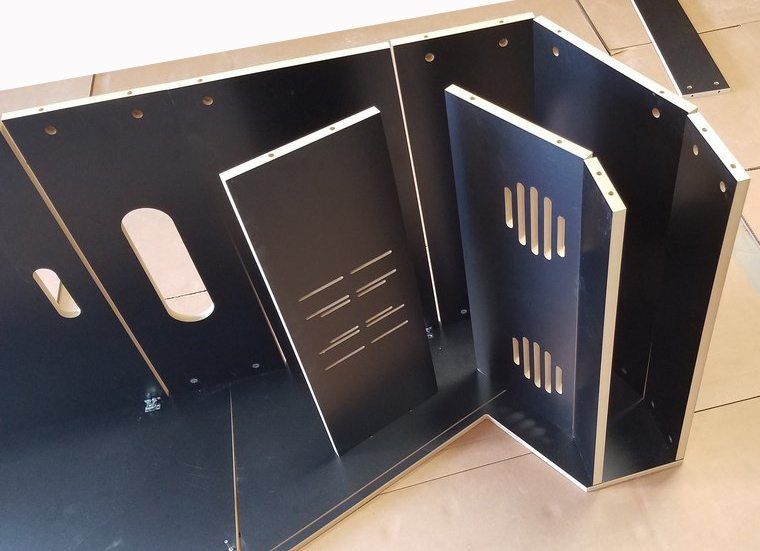
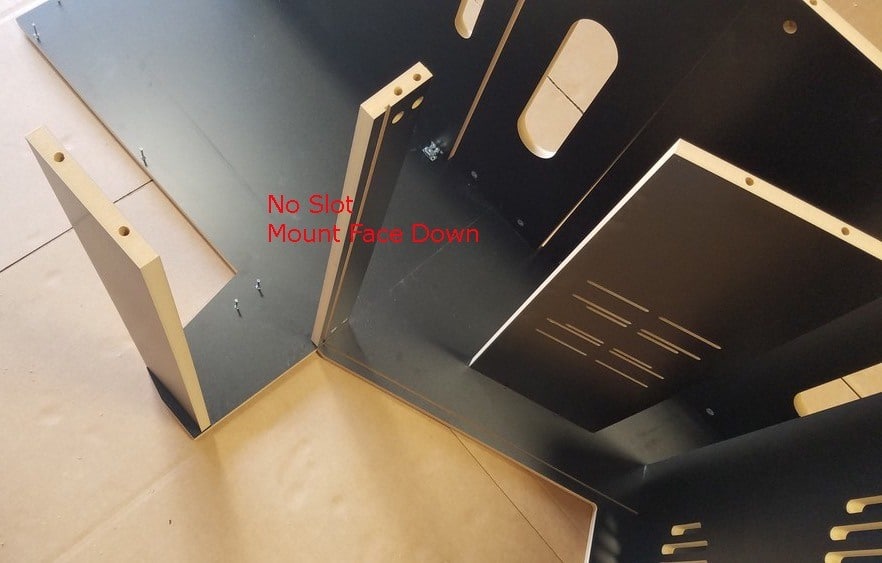
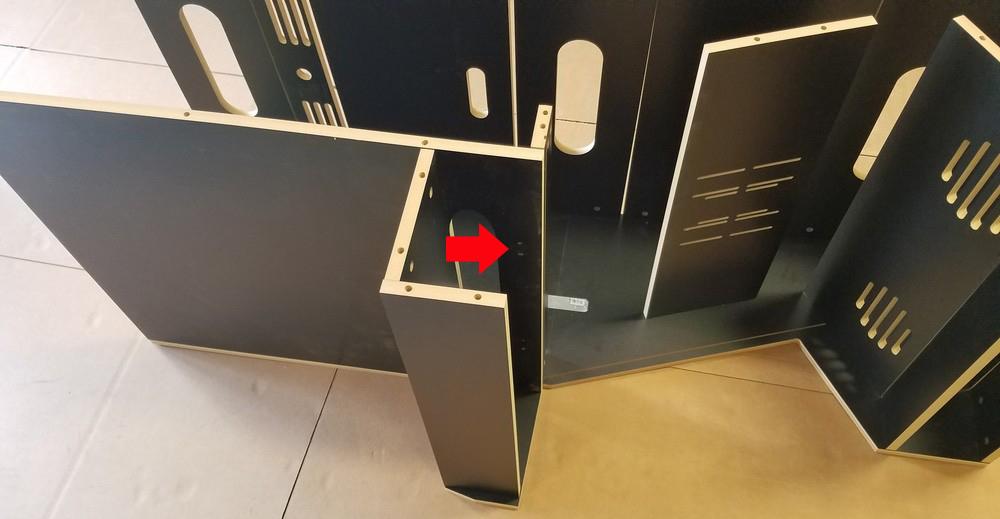
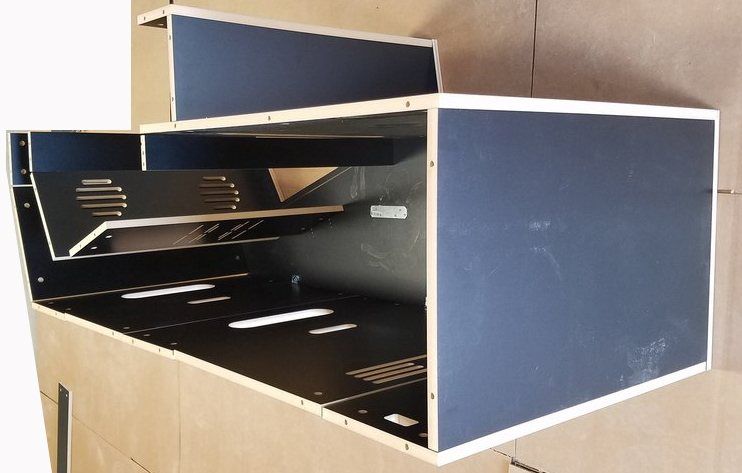
Arcade Cabinet Installation Picture Guide and Videos below
*If you ordered the standard cut wood cabinet without cam lock hardware. Here is installation guide.
Virtual pinball cabinets are at the bottom of the page.
Bartop for 19″ 4:3 Cabinet Installation
Bartop Deluxe Cabinet Installation

Full Size Cabinet Installation


NinBartop Cabinet Installation
Artwork
Videos:
- How to layout and photoshop your graphics using our templates
- How to apply your artwork
- How to apply a bezel to hide your monitor
Wiring/Misc
Video
- Wire/test your control panel
- Light the marquee
- Wire your speakers
- Add USB ports
- Power your buttons
- How to wire a power switch
- Modify your monitor mount (if needed)
Cabinet
Video
- Deluxe/Weecade Revision 2 Preview with hinged back door and control panel
- How to Assemble – Might follow picture guide at start of section
- How to apply tmolding
Raspberry Pi configuration
Video walk through to the right and blog setup below
Virtual Pinball Cabinet
*Instruction files can be found here Virtual Pinball Cabinet Instructions