
How to Build a Home Arcade Machine
This is meant to be both a beginners guide to explain the different parts needed to build a home arcade machine. We will do software and hardware recommendations along the way.
Here is a video sample of what you can do.
Components
Let’s start by breaking down the different components you need to consider.
Cabinet
A cabinet can get as creative as you can be. You could go traditional like the arcades of the past, build a pedestal consisting of just the control panel and use your mounted TV as the monitor, down to just your computer and keyboard.
One option to consider is our CNC Bartop Arcade Kit. It goes together via camlock system with just a philips head screwdriver. This was designed to fast track your build and get playing fast.

If you are wanting to build a full size arcade consider retrofitting an older cabinet. You can locate them fairly easily on Craigslist in your area typically for under $100. I got this Mortal Kombat 3 Cabinet from Craigslist. I printed up some graphics, had the glass smoked, replaced the t-molding, and added one of our LED 2 player kits. Keep in mind it is frowned upon to take a working cabinet and convert it to a MAME cabinet.

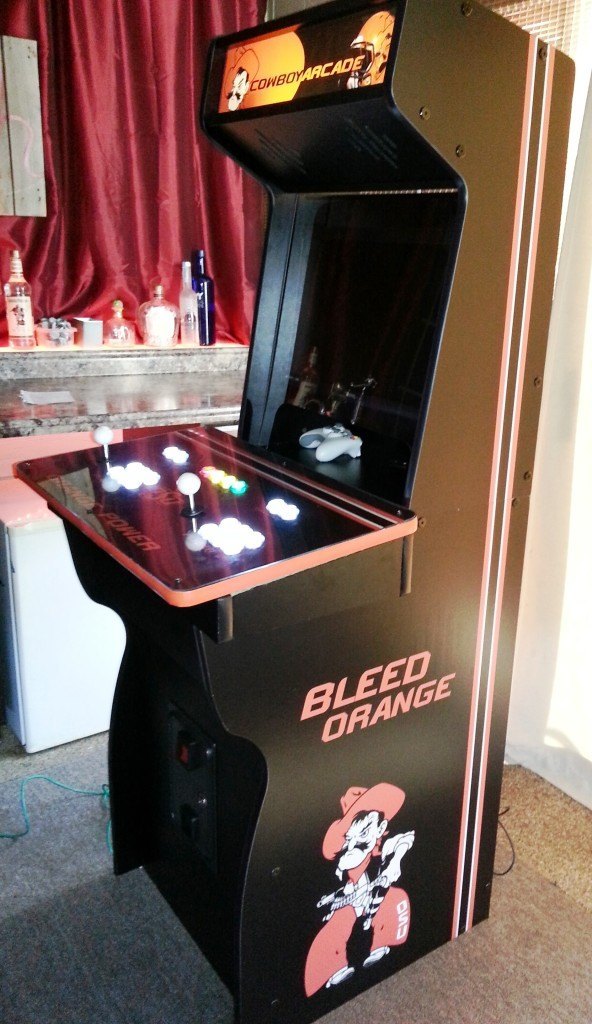
You can also build one from scratch. This takes either very solid carpentry skills or CNC skills. I learned how to CNC and built my own plans for this one. It is much more involved than retrofitting an older cabinet, but you have ultimate flexibility in how you want it to turn out.
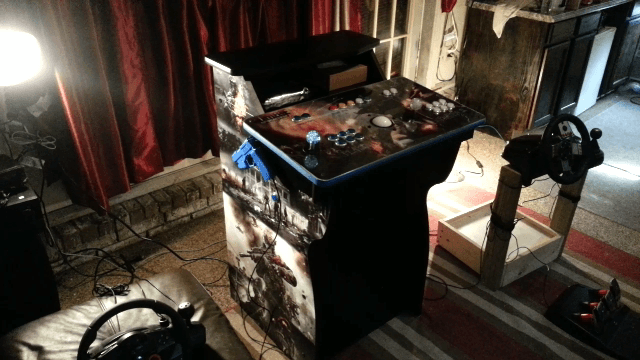
Another popular look is a pedestal style cabinet. This is where essentially the control panel is a separate unit and you play on a wall mounted TV. They are nice, because they are somewhat portable and you are not limited on the size of the monitor/screen. I built this one from scratch as well.
Monitor
You will obviously need a monitor of some kind.
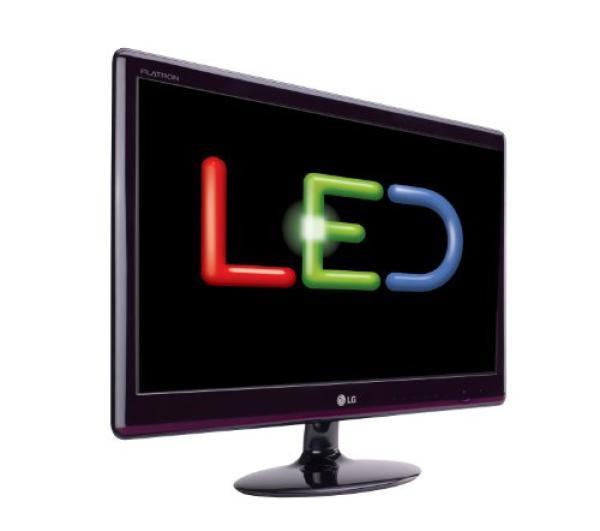
LED 20″ to 23″ LED Monitors From Amazon
I have found that the 20″ to 23″ monitor is a great size if you want something cheap (around $100). They will give you top notch resolution, just make sure the are VESA compatible so you can mount them in the cabinet. If you are doing a pedestal style then you can go as big on the wall mount as you feel will fit your game room.
Arcade monitor
These are harder to find, very heavy, and typically very expensive ($400+). They will most definitely give you the true arcade low res feel to your project. I personally think they are more trouble and $ than they are worth, but if you want a more authentic machine then this is something to consider. Keep in mind you may have to have a video converter board so your PC can connect to it as they are different typically than your standard RGB computer display connection.
Old Television – CRT
You may already have one of these laying in the garage. If not you can get them on Craigslist for around $25. You will need to make sure your PC has a standard video output (yellow single connector) or S-Video. Both are old style connections, but video cards for these types of connections are usually only around $20. If you are brave you can de-case it, but be careful as the coils can still maintain a charge even when not plugged in. These are a good option and typically a 25″ is comparable to a larger arcade monitor.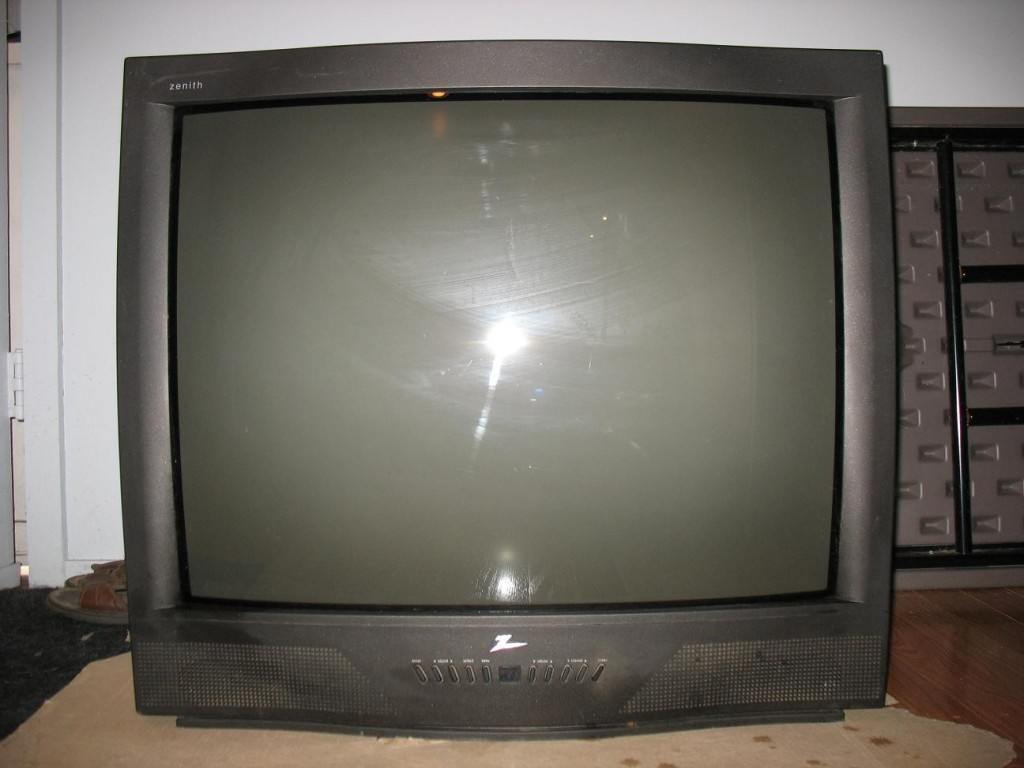
Control Panel Components
Full size arcade control panel components
- Usb Encoder that will communicate joystick and button presses to your PC
- Arcade buttons – LED/Illuminated or standard
- Joysticks – LED/Illuminated or standard
We sell kits that contain everything you need to build a 1 or 2 player unit here.
GamePads
Independently or in addition to arcade controls you may want to add or solely use some USB game Pads. Some options would include
- Xbox 360 Wireless Receiver for PC
to use with your Xbox 360 wireless controller
- USB Nintendo Controllers
- USB Sega Controllers
These are a great option if you want to have a similar feel to the actual console.
PC

You will need a PC of some kind to power and run the games. These can vary from very powerful machines that are capable of playing today’s most graphic intensive games down to a low powered raspberry pi device. It depends on how deep you want to get. For me personally I like the AMD AM1 processor/boards. They are strong enough to run a very graphic intensive frontend software like HyperSpin along with more power hungry emulators such as Dolphin (DreamCast or Wii) or PCSX (Playstation). You can build one for around $250!
- Quad Core Processor
- Micro ATX Motherboard with HDMI and DVI output
- 4 GB DDr 3 RAM 1600 speed (supported by the processor)
- 1TB Hard drive
- Computer case with 400 watt power supply
- Smart Power Strip that will turn on all of your other devices when the PC powers
Again you can go more powerful and spend more $, but I have a very similar build and it is not limiting including some newer PC games.
A side note if you want a simple cheap solution that will run your basic emulators/systems like MAME (arcade games), Nintendo NES/SNES, Sega Gensis, etc, then you may consider a raspberry pi kit. They run around $60 all in. I would not consider this option if you are building a full cabinet, but it you want to simply connect some usb controllers to your TV and be able to play most of the console games from the 80’s and early 90’s then this might be an option. I will go more into this later if you like this option.
Raspberry Pi B+ (B Plus) Complete Starter Kit — Includes Quick Start Guide
Emulator Software

The emulator software is simply software that makes your computer think it is that console. We will go into more detail on how to download and configure them later, but here are the default emulators for each system:
- Atari 5200 – messpp.exe
- Atari Lynx – handy.exe
- Daphne – daphne.exe
- Future Pinball – Future Pinball.exe
- Gameboy Advance – visualboyadvance.exe
- Gameboy – visualboyadvance.exe
- Gameboy Color – visualboyadvance.exe
- MAME – mame.exe
- Neo Geo – mame.exe
- Neo Geo Pocket Color – NeoPop-Win32.exe
- Nintendo 64 – project64.exe
- Nintendo Entertainment System-nestopia.exe
- Panasonic 3DO – FreeDO.exe
- Sega 32X – fusion.exe
- Sega CD – fusion.exe
- Sega Dreamcast – nullDC_100b1_6.exe
- Sega Game Gear – fusion.exe
- Sega Genesis – fusion.exe
- Sega Master System – fusion.exe
- Sega Model 2 – emulator.exe
- Sega Naomi – nulldc.exe
- Sega Saturn – ssf.exe
- Sony Playstation – psxfin.exe
- Super Nintendo Entertainment System – zsnesw.exe
- TurboGraFX 16 – mednafen.exe
- Turbo Duo – pce.exe
- Zinc – zinc.exe
Game Rom
Think of the game “rom” as the console cartridge or CD you use to put in the system to play that specific games.
Frontend Software

The Frontend software is essentially a piece of software the integrates all of your systems and games into one interface. It is the workhorse and the flash of your system.
The most popular options:
- HyperSpin-FE.com – Free
- Maximus Arcade – $25
- Mala – Free
- GameEx – Free and $30 version
We have a full guide on how to setup HyperSpin, Hyperlaunch, Hypersync, and MAME.
Break Time
If you are new to all of this, let’s take a second and have some fun. Remember this process is a journey and you don’t want you to lose steam along the way. If you are on a computer, let’s take a min and actually play a game to keep us motivated. Don’t worry about folder structures, frontends, gamepads, etc.
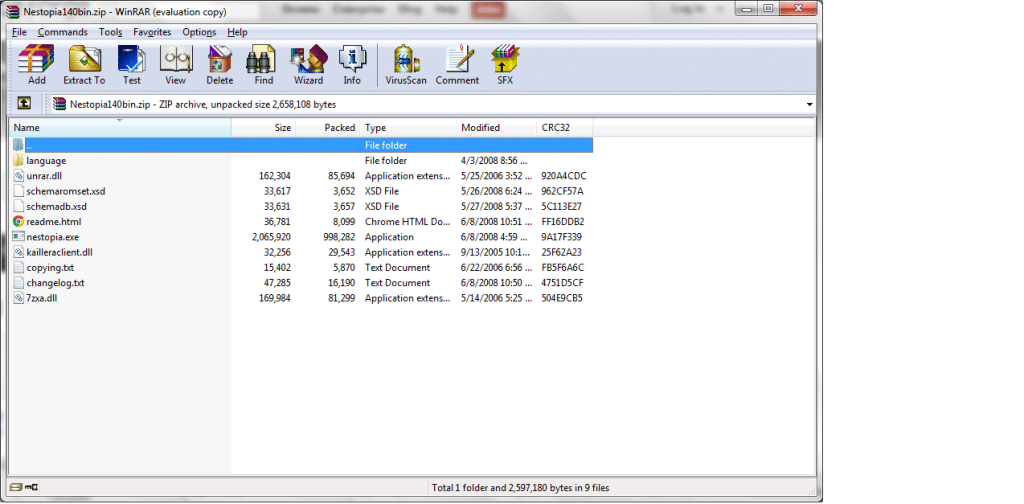
Download Nestopia emulator below for what computer your on now.
Extract it to a folder where you can find it. I put it on my desktop in a folder named nes
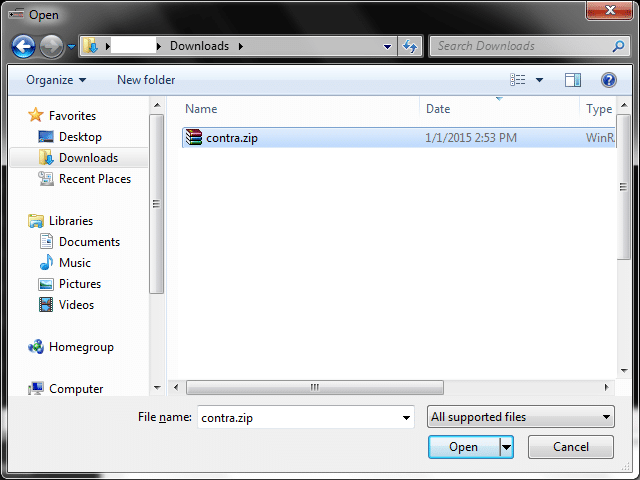
Get a favorite game by googling : “Game name” nes rom
The game will be in zip format. For example I got Contra.zip
Open the folder you extracted Nestopia into and run the application

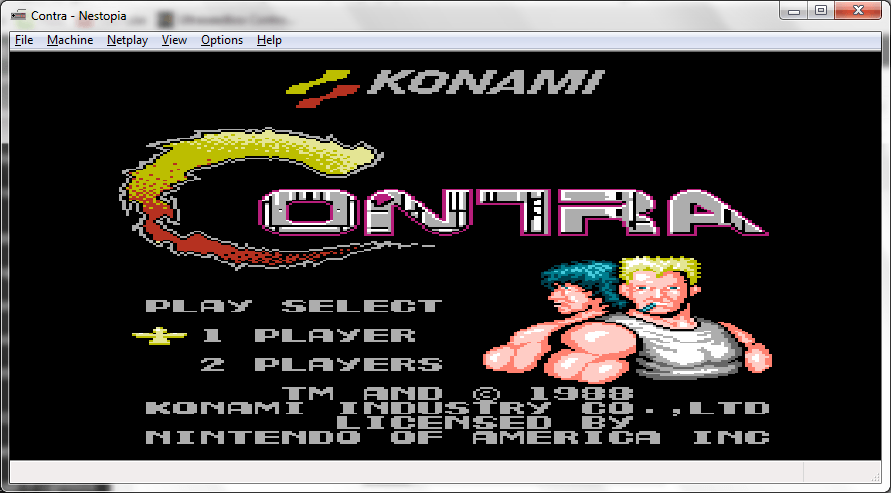
Click File -> Open and select the zip file

I’m Excited, are you excited?
Quick default keyboard controls
- Left = Left arrow
- Right = Right arrow
- Up = Up arrow
- Down = Down arrow
- A = .
- B = ,
- Start = Enter
- Select = Right Shift
Go ahead and play a game or two and visualize all you could do with this technology. How you could wow your friends and family. Teach your kids about your favorite games growing up. Explore games. Possibilities are endless.
We have a full guide on how to setup HyperSpin, HyperLaunch, HyperSync and MAME. It will get you playing asap.
Please share our site out on your social media or at your favorite game room forums if you found this helpful.
Thanks,
Ryan
