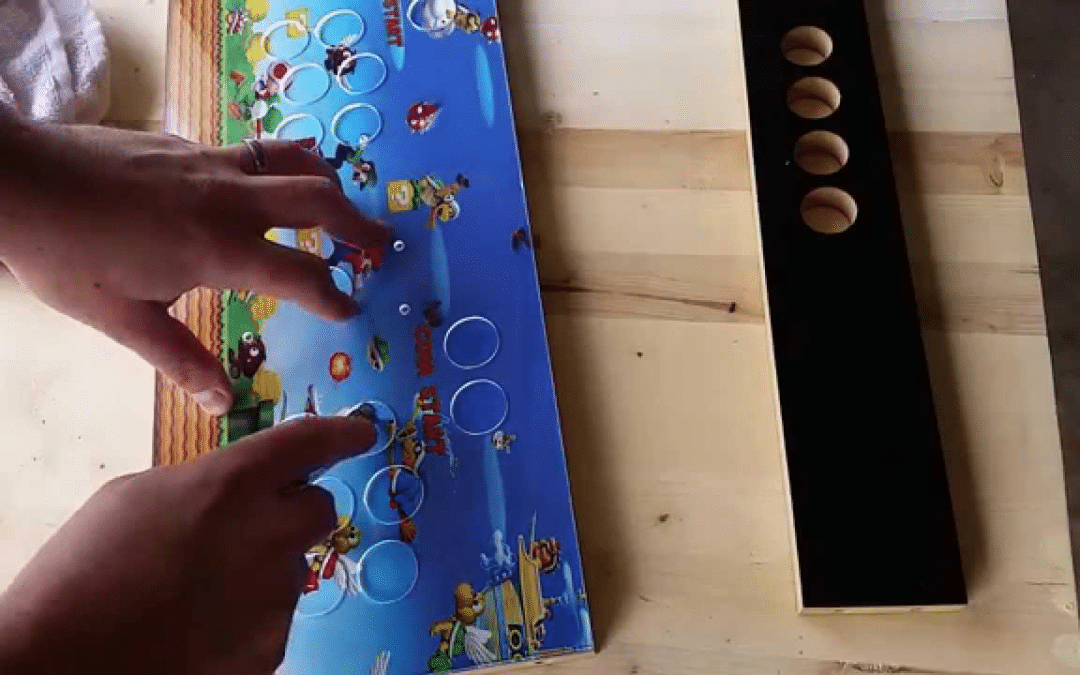
Arcade machines have been a popular source of entertainment for decades, and customizing them with graphics or decals has become increasingly popular. Applying graphics to an arcade machine can be a challenging task, but with the right tools and techniques, it can be done quickly and easily. This article will provide step-by-step instructions on how to apply vinyl artwork to an arcade machine.
Table of Contents
- Introduction
- Gather Required Tools and Materials
- Preparing the Arcade Machine for Vinyl Artwork
- Measuring and Cutting the Vinyl Artwork
- Applying the Graphics
- Trimming the Edges
- Finishing Touches
- Cleaning Up
- Troubleshooting
- Tips and Tricks
- FAQs
- Conclusion
Introduction
Vinyl artwork is an excellent way to add a personal touch to an arcade machine. Whether it’s a full wrap or just a few decals, graphics can transform an ordinary arcade machine into a unique work of art. Applying graphics to an arcade machine can be tricky, but with the right techniques and tools, it’s a task that can be accomplished by anyone.
Need artwork printed for your project? Check out our printing options for almost any application. Artwork for arcade machine

Gather Required Tools and Materials
Before applying graphics to an arcade machine, you will need the following tools and materials:
- Vinyl artwork
- Squeegee
- Razor blade or utility knife
- Tape measure
- Scissors
- Cleaning solution
- Microfiber cloth
Preparing the Arcade Machine for Vinyl Artwork
To prepare the arcade machine for graphics, follow these steps:
- Turn off the arcade machine and unplug it from the wall.
- Clean the surface of the arcade machine with a cleaning solution and a microfiber cloth to remove any dust, dirt, or debris.
- Measure the surface of the arcade machine where the graphics will be applied to ensure that they will fit correctly.
Measuring and Cutting the Vinyl Artwork
To measure and cut the vinyl artwork, follow these steps:
- Measure the surface of the arcade machine where the graphics will be applied.
- Cut the vinyl artwork to the appropriate size and shape using scissors or a razor blade.
- Apply transfer tape to the vinyl artwork to help transfer it to the arcade machine.
Applying the Graphics
To apply the graphics, follow these steps:
- Align the graphics with the surface of the arcade machine.
- Peel the backing paper off the vinyl artwork to expose the adhesive side.
- Use a squeegee to apply the graphics to the arcade machine, starting from the side and working outward.
- Continue to use the squeegee to smooth out any air bubbles or wrinkles in the graphics.
Trimming the Edges
To trim the edges of the graphics, follow these steps:
- Use a razor blade or utility knife to trim the excess vinyl artwork from the edges of the arcade machine.
- Be careful not to cut into the arcade machine itself.
Finishing Touches
Use the squeegee to press the graphics firmly against the arcade machine again after it has dried.
Cleaning Up
To clean up after applying graphics to an arcade machine, follow these steps:
- Use a microfiber cloth to clean up any debris or excess vinyl artwork.
- Dispose of any scraps or unused vinyl artwork properly.
Troubleshooting
If you encounter any problems while applying graphics to an arcade machine, try the following:
- If the graphics are not sticking properly, use a heat gun or hair dryer to warm up the surface of the arcade machine before applying the graphics.
- If the graphics are wrinkled or have air bubbles, use the squeegee to smooth them out.
- If the graphics are not lining up properly, remove them and start again.
Tips and Tricks
Here are a few tips and tricks to keep in mind when applying graphics to an arcade machine:
- Use a sharp razor blade or utility knife to cut the vinyl artwork.
- Apply the graphics in a dust-free environment to avoid any debris getting trapped under them.
- Use a squeegee to smooth out any air bubbles or wrinkles in the graphics.
- Apply the graphics slowly and carefully to ensure they line up correctly.
FAQs
How long will graphics last on an arcade machine? Graphics can last for several years with proper care and maintenance.
Can graphics be removed from an arcade machine? Yes, graphics can be removed from an arcade machine. Use a heat gun or hair dryer to warm up the graphics before peeling them off.
Can graphics be reused? No, once graphics have been removed, they cannot be reused.
Can graphics be applied to curved surfaces? Yes, graphics can be applied to curved surfaces, but it may require additional cutting and smoothing to ensure they lay flat.
Can I apply graphics to a painted arcade machine? Yes, graphics can be applied to a painted arcade machine, but the surface should be cleaned and dried thoroughly before applying them.
Conclusion
Applying graphics to an arcade machine can be a fun and rewarding project, and with the right tools and techniques, it can be done quickly and easily. Follow the steps outlined in this article to create a customized arcade machine that is truly one-of-a-kind


